Introduction
Once you've set up your event for Lottery Registration and athletes have been registered in your event, you can import a Winner List which will automatically trigger payments from the credit card information athletes provided when they registered and generate a report showing any declined transactions. This guide will show you how to import a list of winners, how to manually specify individual winners, and explain the athlete process for accepted and declined charges.
Upload and Charge Winners
When the time comes to pick the Lottery winners, follow the process below.
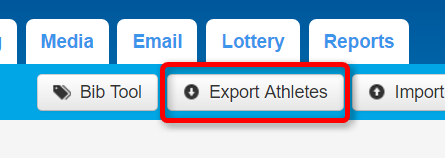
- First, click the Export Athletes button on the Athletes tab to download all the participants to a .CSV file.
- In the window that appears, select "Any" next to the Race field, and "Pending" next to the Status field. All Lottery registrants are noted as "Pending" until they are selected as Winners. Do not specify a Last ID value. If you intend to do the drawing for a single race in the event, it's ok to do multiple Winner imports. Just be careful not to double-select from the same file by accident.
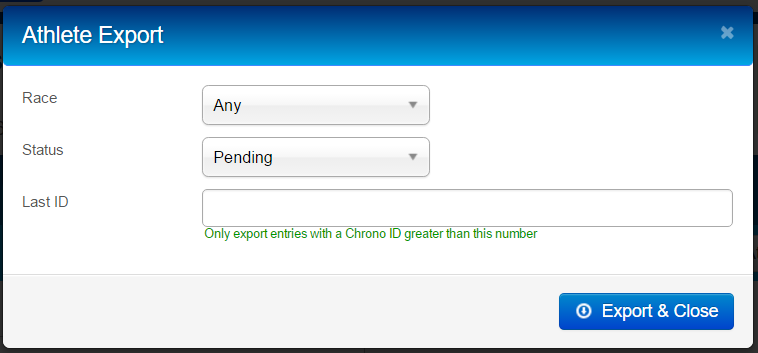
- Click Export & Close
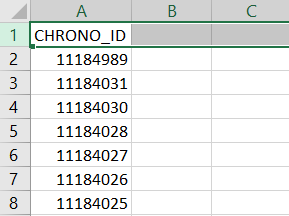
- Open the exported file in Excel, and delete every column except the ChronoID column. The ChronoID is a number assigned to every athlete who is added to a CT Live event, and is the ONLY value that can be used to indicate Lottery Winners.
- Now, use whatever method you would like to determine winners. Click HERE for a YouTube Video that may be helpful in figuring out how to randomly designate winners in Excel.
- Once you've removed all ChronoIDs for athletes who are NOT winners, save the file as a .CSV. Remember to include ONLY the ChronoID column in the file.
- Now go to the Lottery tab in your CT Live event and click the Select File button.

- In the window that appears, locate and select your Winner File and click Open.
- Now, click the Upload File button.

- You'll see a progress bar, and a confirmation when the file has finished uploading. Once the upload has completed, click the Charge winners... button.

- You will once more see a progress bar with a running tally of Successful, Invalid ChronoID, and Failed entries.
- When the charge process is complete, you'll see the final results of the charge, and can click the View Report button to see which ones succeeded and which ones failed.
Any athletes whose cards were declined by the payment service will immediately receive an e-mail notification alerting them to the problem and offering a link to supply new information and complete their payment.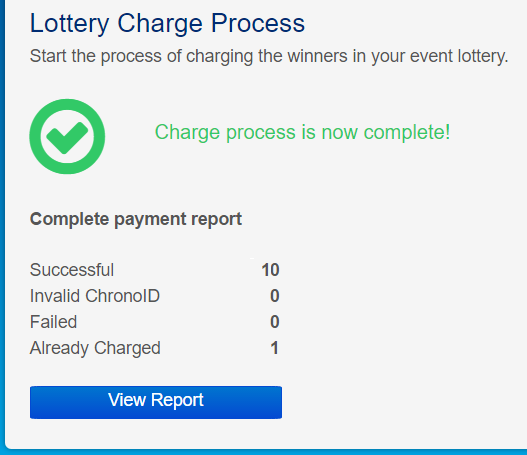

- Each time you import a Winners File, a new report will be added. Any reports can be accessed from the Reports sub-tab of the Lottery tab.

When payments are declined, there isn't much you can do except wait and hope the athletes all take the steps necessary to complete payment. One thing you can do is use the Standard/DeclinedLotteryWinners report on the Reports tab to generate an e-mail list. You can then use that list to send out your own reminder e-mail to the athletes who have yet to pay. It may be a good idea to include a link to This Article from our Athlete knowledge base.
In some extremely rare cases an athlete may provide you directly with a replacement CC number. If this ever happens, the section below will show you how to enter the payment manually.
When you're done selecting Winners, it's a good idea to Send a Consolation Email to the athletes who weren't selected.
Manually Specify/Charge a Winner
Sometimes you may want to specify an individual athlete as a winner and charge their card on file or in rare cases enter a new card number that an athlete has provided. The below process will show you how to do this.
Only users with Event Director permission for the event will be able to complete this process.
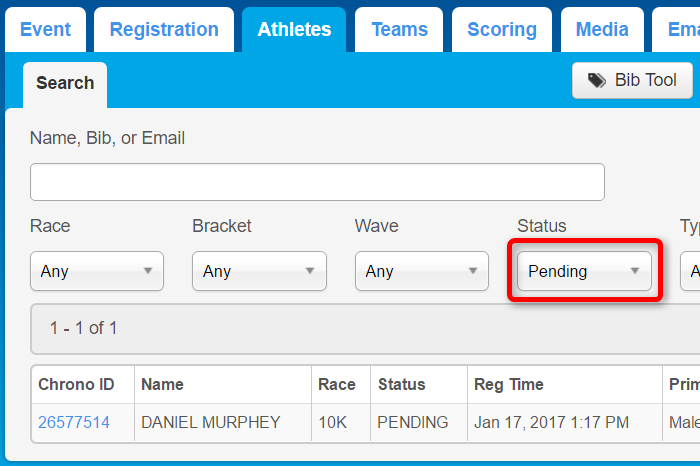
- Go to the Athletes tab and select "Pending" from the Status dropdown.
- Search for the athlete you'd like to charge as a Winner and then click their ChronoID.
- Click the athlete's Account tab and then click the button that says Select in Lottery, located at the top right corner of the account tab.

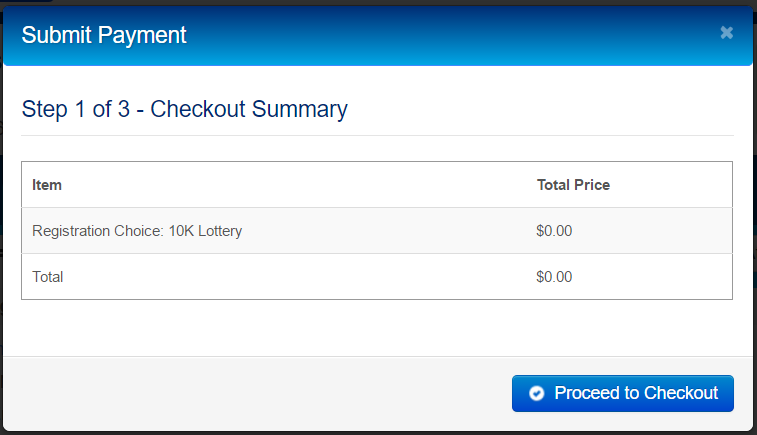
- In the window that appears, you'll see a preview of the total price amount. Click Proceed to Checkout.
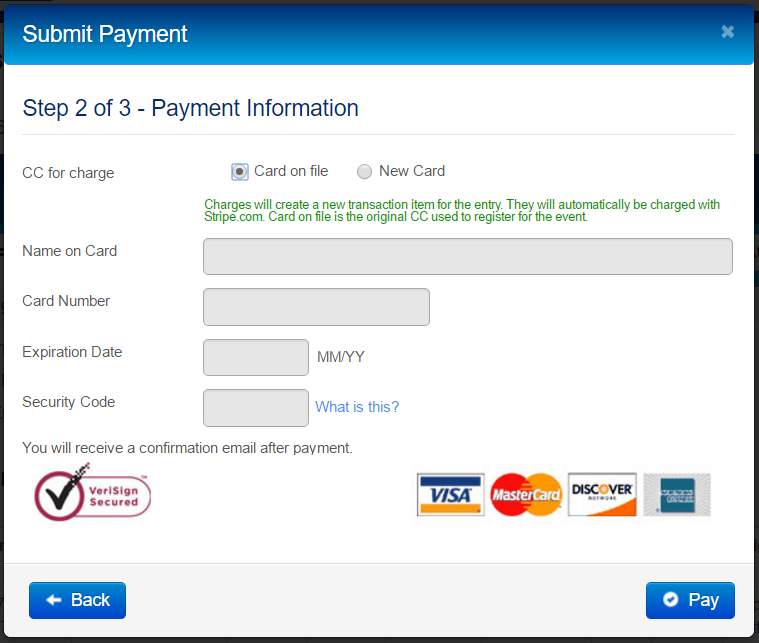
- On the next screen, select whether to use the Card on file or enter a New Card number. Fill in the information (if necessary) and click Pay.
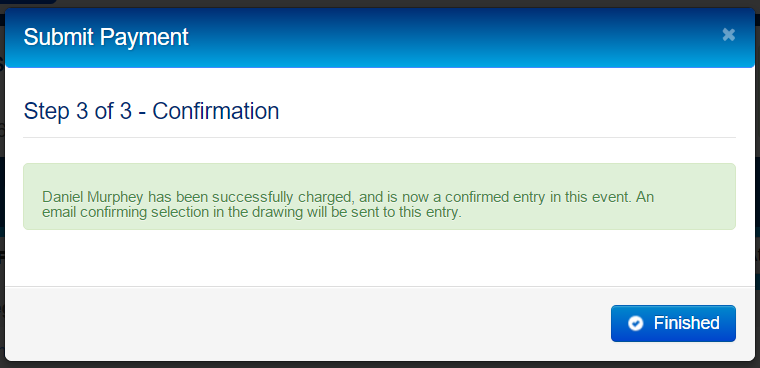
- Once the payment clears, you'll see a confirmation dialogue similar to the one below. Click Finished to complete the process.
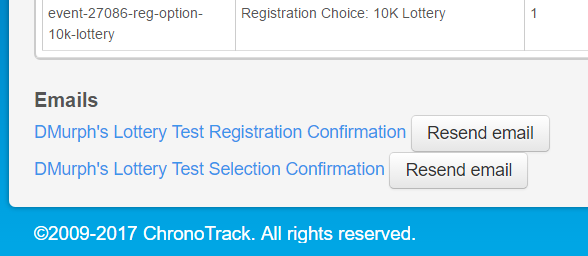
- You should now see the "Selection Confirmation" e-mail link at the bottom left corner of the athlete's Account tab. The athlete will have received the e-mail automatically when the payment was processed.
