Introduction
The MBR1200B has been discontinued by CradlePoint, and we now recommend the Netgear Nighthawk MR1100 for use with Launch. Check out the guide for configuring the MR1100 HERE.
This brief guide will walk you through configuring your router for use with Lauch kiosk devices. We recommend the MBR1200B model router from CradlePoint. Even if the event will be in an area where you are sure internet access will be entirely impossible, you should still bring a USB modem to provide internet access to the router so that entries can be uploaded to your event if and when connection is established.
Before you begin this process, please update the firmware on your router to the latest version. Refer to the router's manual for steps on how to do this.
Configuring the Router
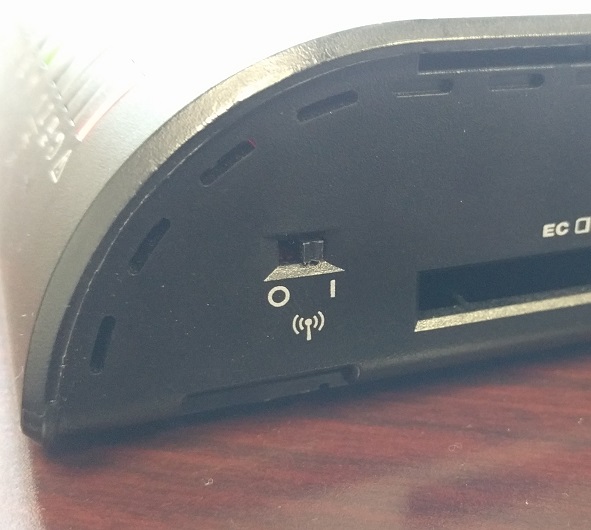
- Supply the router with power, turn it on, and then wait for it to complete its boot sequence. This can take up to a minute. Make sure the router's WiFi network broadcast switch is turned on.
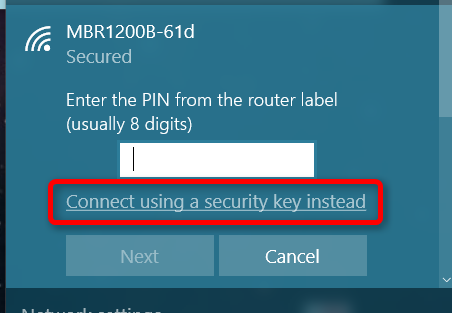
- Now, connect your PC to the router's WiFi network. The default password is on a sticker on the bottom of your router. In Windows 10, you may need to click the "Connect using a security key instead" option if it asks for a PIN.
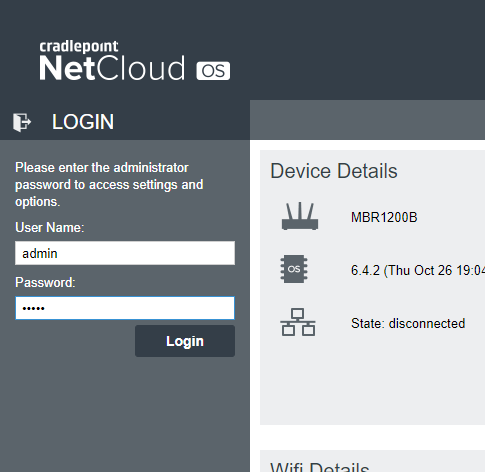
- Once you're connected to the network, open a web browser and type 192.168.0.1 into the address bar. This will open the Admin page for the router.
- Use the same password you used to connect to the WiFi network in the Password field, then click Login.
- Now, click the Networking tab, select the Local Networks menu, then select DHCP Server.
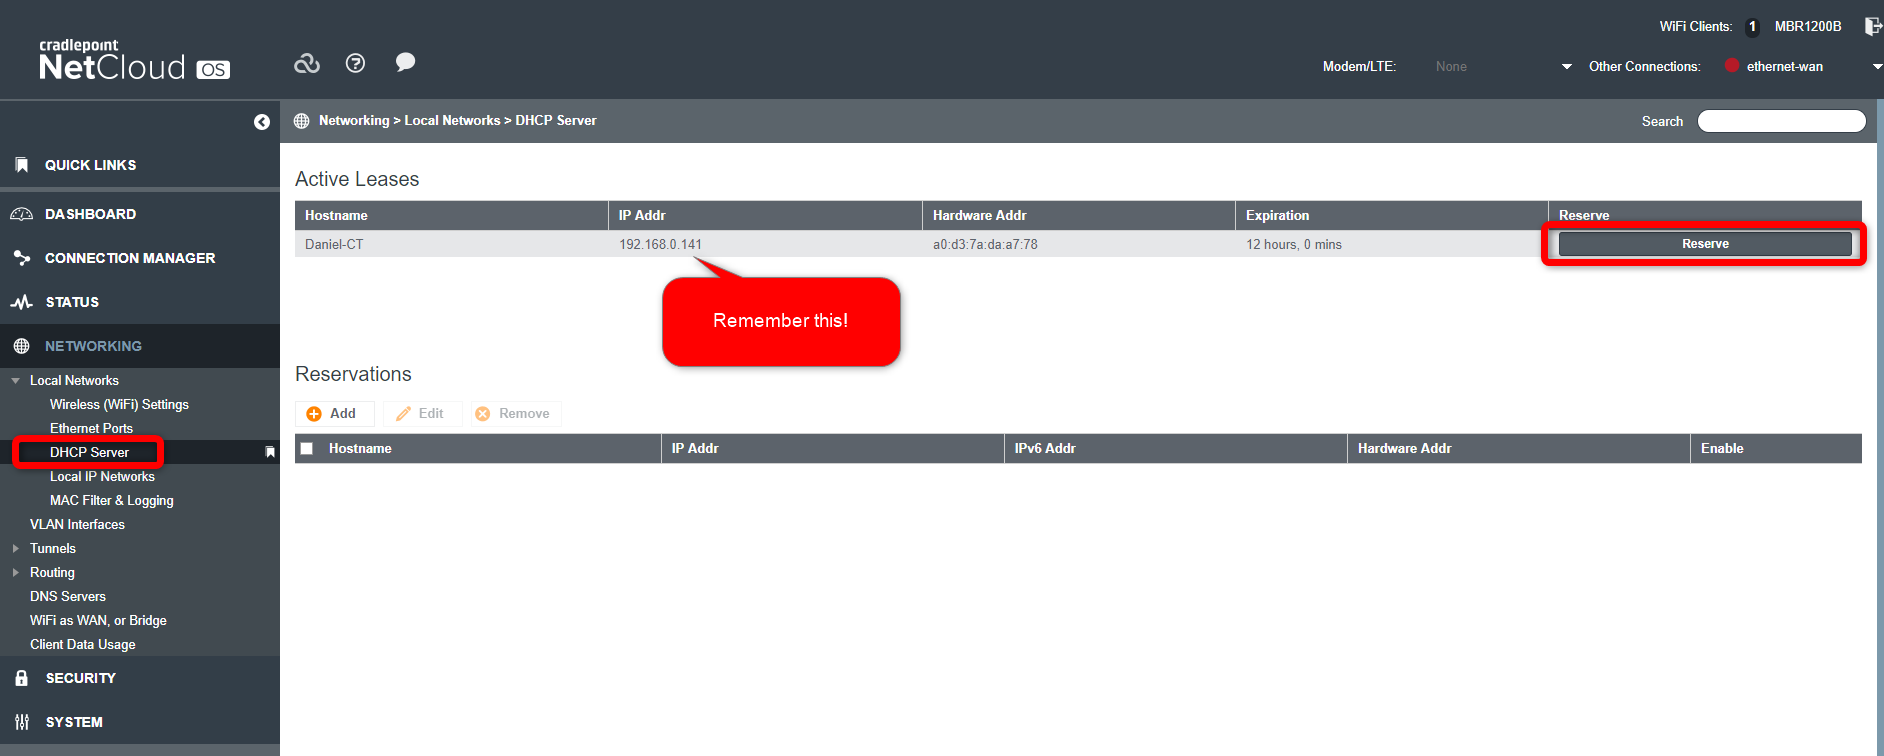
- On the following page, locate your computer name in the Active Leases section and then write down the IP Address listed next to it. Once you've noted the IP, click the Reserve button next to your PC name.
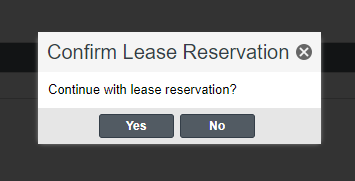
- In the message that appears, click Yes.
- Now, click the DNS Servers option.
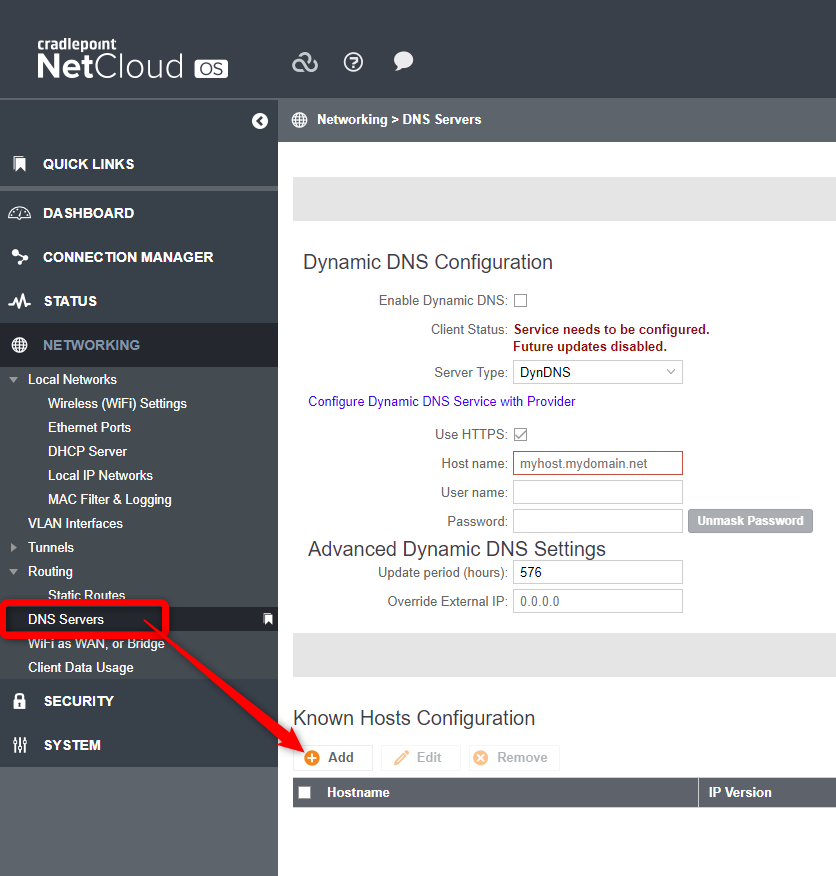
- On the next page, scroll to the very bottom to the section labeled Known Hosts Configuration, and click the Add button.
- In the small window that appears, enter a Hostname that will be entered on each of your Kiosk devices to access the Kiosk screens. We recommend launch.chronotrack.com, but it can be something else.

- Now enter the IP address you wrote down in step 6 in the IP address field and click Submit.
Your router is now configured.
Test Configuration
In order to test that the router was correctly configured, open up the Launch application on your Host computer, download an event, and select it.
Now on a different device such as your smartphone, open a web browser and go to launch.chronotrack.com:9004/eventAccess into the address bar (or whichever Hostname you set on the router in step 9, followed by :9004/eventAccess).
If you see the Passphrase screen on your device, you'll know the router configuration was successful. If you don't get the Passphrase screen, double-check the router configuration. Also try bringing up the Launch kiosk page using the IP address of the host computer instead of the Hostname (192.168.0.X:9004/eventAccess).

Router Setup On-site
Setting up your configured router on-site should be a relatively simple process. You should position the router somewhere near the middle of the physical area that your kiosks will be distributed across, and there must be an available power source nearby to plug in your router. We recommend that you secure the router at least 7 feet off the ground to avoid interference of the signal that could be caused by crowds of people in between the router and the various kiosks that you have set up.
Once you have your router plugged in, you should be able to join the broadcasted network on the computer that is hosting Launch, and on the individual kiosks that will be connecting to that computer through the local network. Once this is done, you should be all set!