Introduction
Adding Cameras to a Timing Point enables you to upload and sync photos and videos to your event. You may create multiple cameras of either type and assign them to the same Timing Point or multiple Timing Points across multiple races.
If you will have multiple photographers at your event or the photographer will have multiple cameras, be sure to set up a Camera Device for each physical camera to be used at the event. Be sure to name your Camera Devices clearly so that photographers know which to upload photos/videos to if they'll be uploading themselves. It's also a good idea to include the name of the location where each Camera Device is to be used. For example:
BrandonStart
SeanSwimExit
TateFinishLine
SeanFinishLine
StephenPodium
Add a Camera
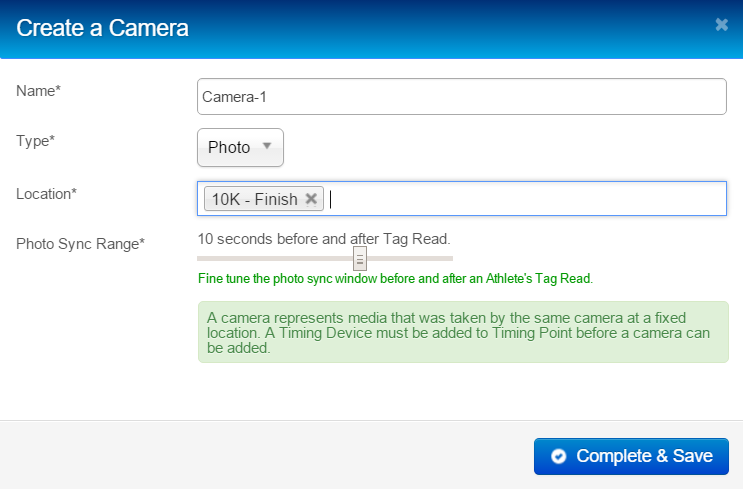
- Click the + Camera button next to the MID button. This will open the Create a Camera window.

- Specify a Name for the camera. The name may include any combination of letters, numbers, or special characters.
- Specify the camera Type, whether Photo or Video.
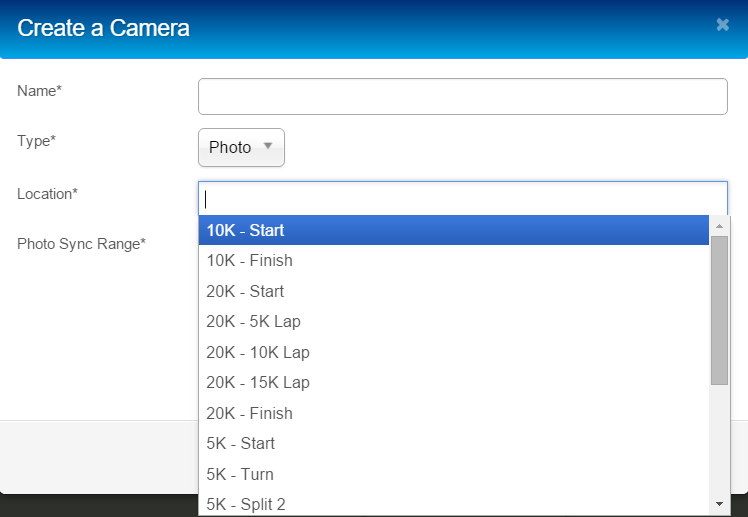
Select the Location(s) the camera will be assigned to. You can specify multiple locations one at a time as shown below.
Tip: You should only associate one camera with multiple Points if the Points have a common Timing Device (e.g. shared reads).- Finally, use the slider to select the Photo Sync Window. This determines the time span in which CT Live will assign photos to athletes on either side of their finish read. Remember, if you set the range too long, athletes may have to wade through more images of other people before they can view their own photos. If necessary, you can edit this after the Device has been created.

- When you are finished with your changes, click Complete & Save. Repeat this process as many times as necessary until each actual camera to be used at the event has a corresponding Camera Device.
The page will auto-refresh, and the Camera will appear under the Timing Point(s) to which it was assigned.
Clicking once on the Camera will reveal any Time Offset. Clicking again will open the Edit [Camera Name] Camera window. From this window, you can edit or Remove the camera.
You can also use the arrow to the right of the + Camera button and select Cameras there.
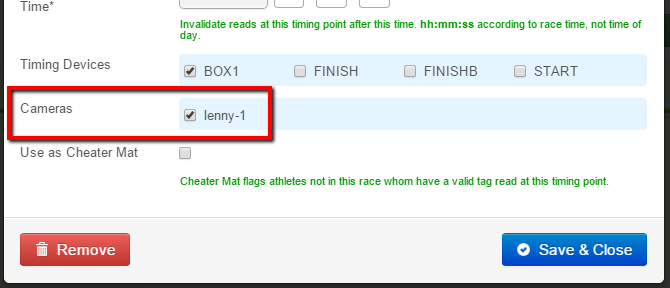
Another way to associate a Camera with a Point is to click the 'Target' for the Point you'd like to add it to. In the window that appears, select the desired camera from the list found beneath the Timing Devices.