Introduction
The Interval Pace report gives deep insight into each athlete's paces for any given Interval, allowing easy identification of possible cheaters. Before you can use the report effectively, there is some configuration necessary for your Course.
For a video demo of this report, click HERE.
Set Up Intervals
For a race with multiple split points, setting up Intervals is a necessary part of creating Timing Points on the Course. The intervals created in the Timing Point creation process are Course type intervals, which means they begin at the Start point, and end at some split point. Using Course type intervals in the Interval Pace report can work to identify cheaters, but since Course type intervals are a sort of rolling average of the paces for each additional Point, it will be difficult to identify extreme changes in pace.
To allow for greater versatility when using the Interval Pace report, it's a good idea to add additional Split type intervals to your course so that it's easier to see extreme changes in pace between each consecutive pair of points. Remember that you can choose not to publish Intervals, so if you only want to show certain Intervals to Athletes, you can deselect the Publish Results check box when editing/creating an Interval. If you're not sure how to create an Interval, see our guide HERE.
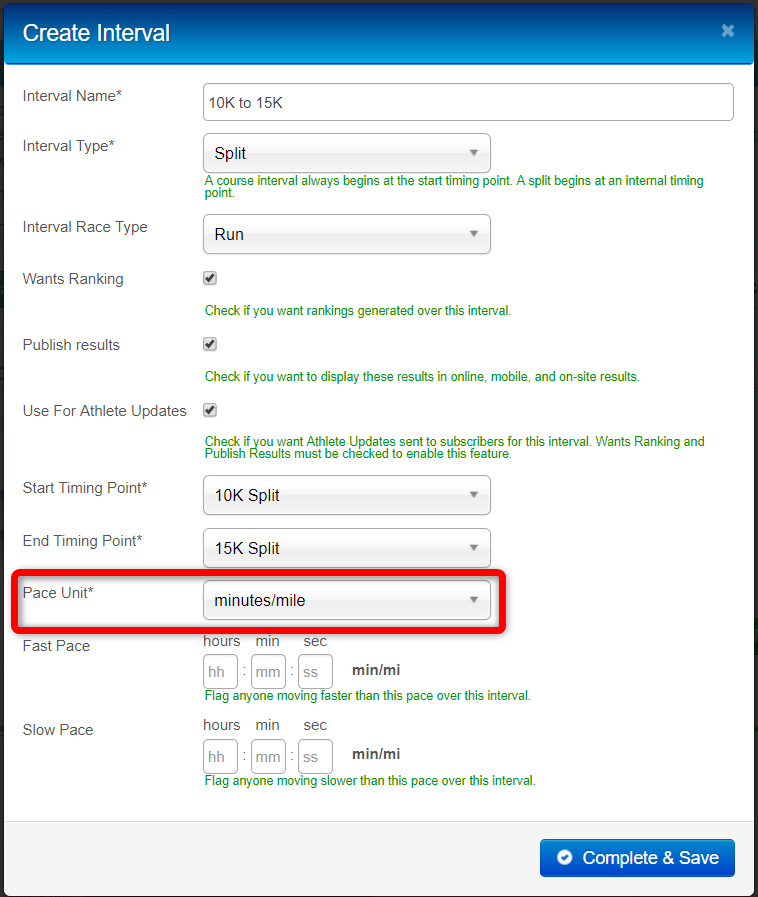
You should also make sure to select a Pace Unit for EVERY interval in the course. If no Pace Unit is selected, the Interval Pace report will not populate any paces for that Interval.

Add the Report to Your Event
The Interval Pace report needs to be added to your event manually before it can be accessed. To do this, click the + Add Report button on the Reports tab of your Event.

In the window that appears, click the Report Class dropdown and start typing the word "interval", then select the Standard/Results/IntervalPaces report from the list.

Give the Report a Title, then click Continue.
On the next page, select the Race the report should examine. If you have multiple races, you'll need to add a new Interval Pace Report for each Race.
Next, select the Intervals that you'll be using. You can choose to show All, Only Course Intervals, or Only Split Intervals.
Lastly, choose the Course Pace Type. Chip Pace is the default and will be best for identifying pace anomalies, but Gun Pace is available if needed. These settings can be edited later if necessary.

You can choose to show Unpublished Results and filter athletes by Entry Status, but these fields aren't requires.
When you're done, click Complete & Save. The page will refresh, and the new Report will appear in the Scoring section of the Reports tab.

Using the Report
Click the report title in your Scoring reports list to open it in a new tab. If results have been generated for your event, the report should show every athlete in the selected Race who has a valid time at at least one Point, organized by Chrono ID. The Intervals will be listed from shortest to longest, left to right. You can download the report as a CSV file to sort it and use calculations in Excel.
If you're viewing the report in the browser, you can click an athlete's ChronoID to go directly to their profile to make timing or entry status adjustments quickly.
