Introduction
If you're in a situation where you'd like to connect your Pro2 to the internet using a hard line connection, there is a little bit of configuration that needs to be done, both on the controller, and on the router that's supplying internet to the controller. This guide can also be used to connect a controller to the internet using a mobile router and aircard like you would use for a Mini.
Configure the Router
The configuration for the router that's supplying the wired connection to the controller is very simple. The router's IP address should be set to 172.20.23.1 so that it's on the same network as the controller and not using an IP that's used by other controllers and equipment.
Configure the Pro2's Gateway
- Power on the controller and go to the Settings > Network Adapters menu.

- On the adapters screen, tap the LAN entry and press Edit.

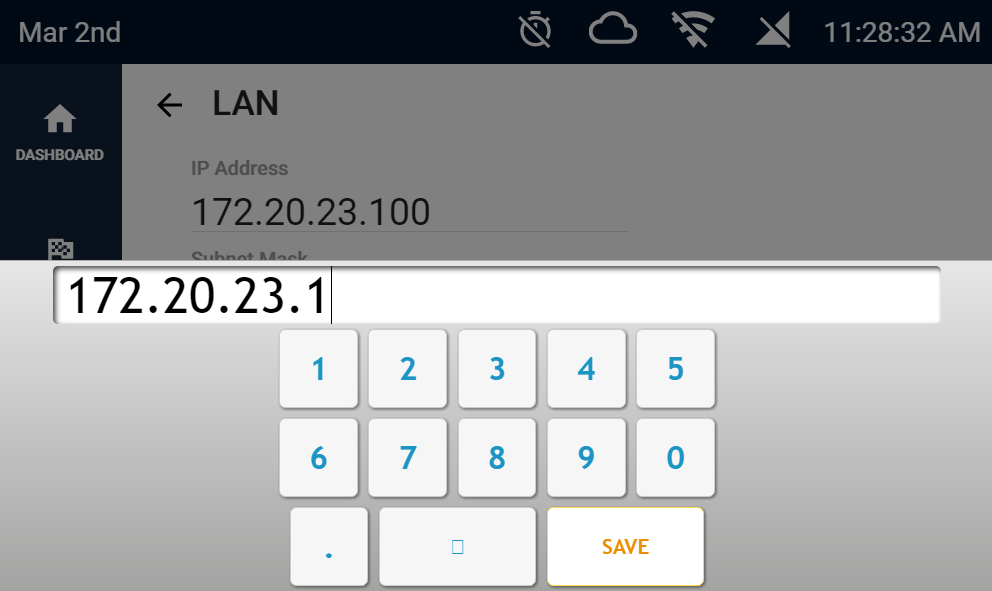
- On the next screen, tap the Gateway field and enter 172.20.23.1, then press Save.

- Now press the Update button to finalize the change.

Connection to the Server
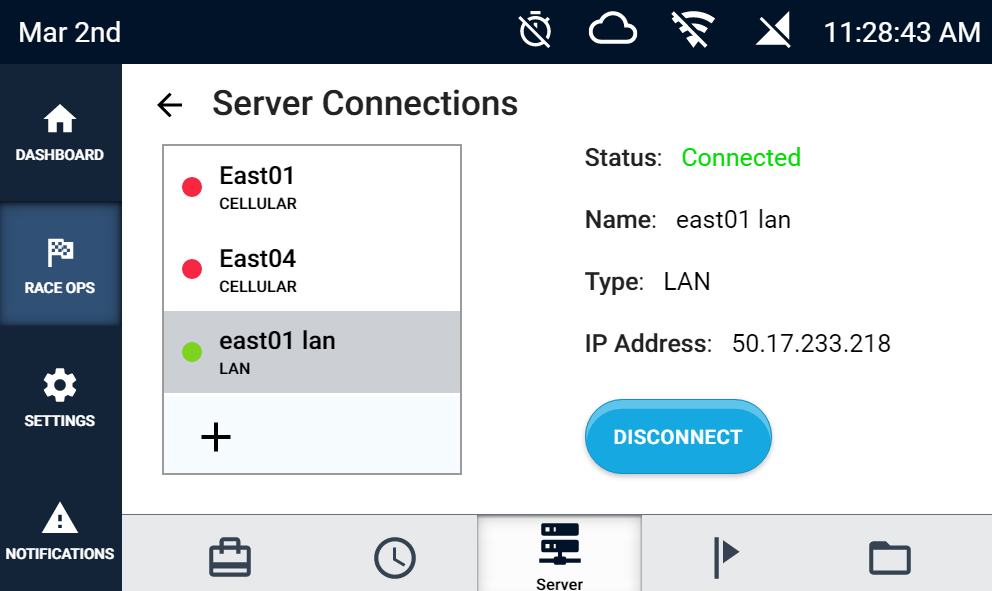
If you haven't already done so, you'll need to add a new Server Connection to your controller that's LAN type and has the ChronoTrack Server IP of 50.17.233.218. Click HERE to find out how to add a new Server Connection.
Now with the new server entry highlighted, press the Connect button. After a few seconds, the Status should show "Connected", and the cloud icon at the top of the screen should no longer have a slash through it.
Your controller is now connected to the internet.
Now, you can stream data to your CT Live Event using Fusion, SimpleClient, or StreamManager