Introduction
This guide will walk you through the process of configuring the TP-Link TL-WR702N router for use in connecting a Mini to a PC or networking controllers wirelessly. Before attempting this process, download the TL-WRconfig.cfg file from the Downloads section at the bottom of this guide.
You will need to reference the Router Password Cheat Sheet found in the Downloads section of the Timer Portal under Networking Accessories. Please download it and have it ready.
Loading the Config File
- Supply power to the Router and connect it to your PC's Ethernet port. Allow up to a minute for the router to boot up.
- Open a web browser and type 192.168.0.254 into the address bar and press Enter.
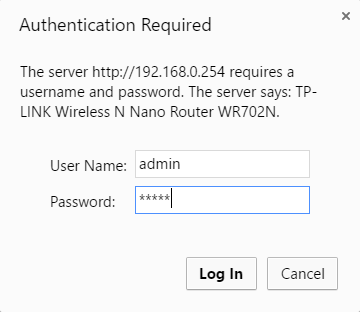
You may need to set your computer's ethernet adapter to a static IP within the 192.168.0. scheme to access the router. - You should see a login form similar to what is shown below. The login information is admin for both the User and Password fields.
- When you've entered the login information, you will be directed to the main page of the admin interface. Click the System Tools menu item, then the Backup & Restore option.
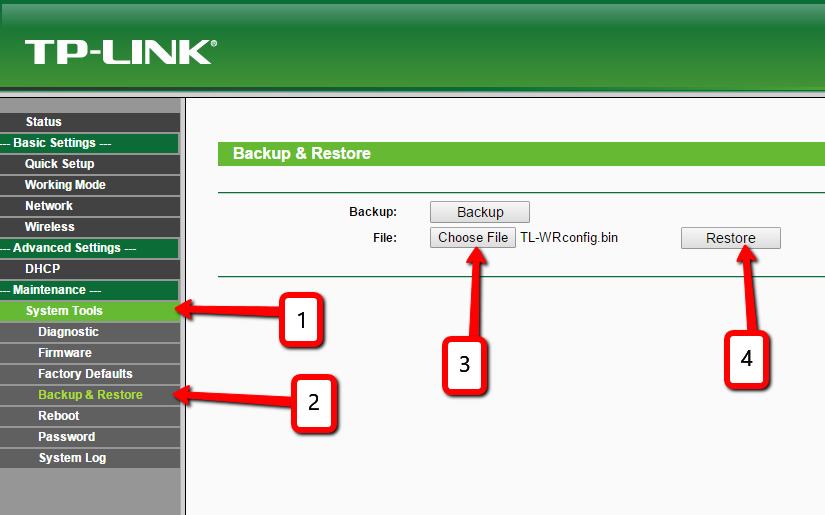
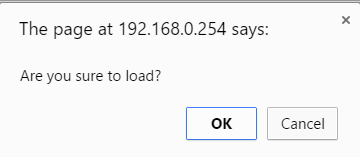
- Click the Choose File button and browse your computer for the .upg file you downloaded from the bottom of this article. Click Restore once you've selected the file. Confirm the restore.
- You will see a status bar for ~30 seconds as the router reboots. When the reboot is complete, you may be required to log into the router using the new security information.
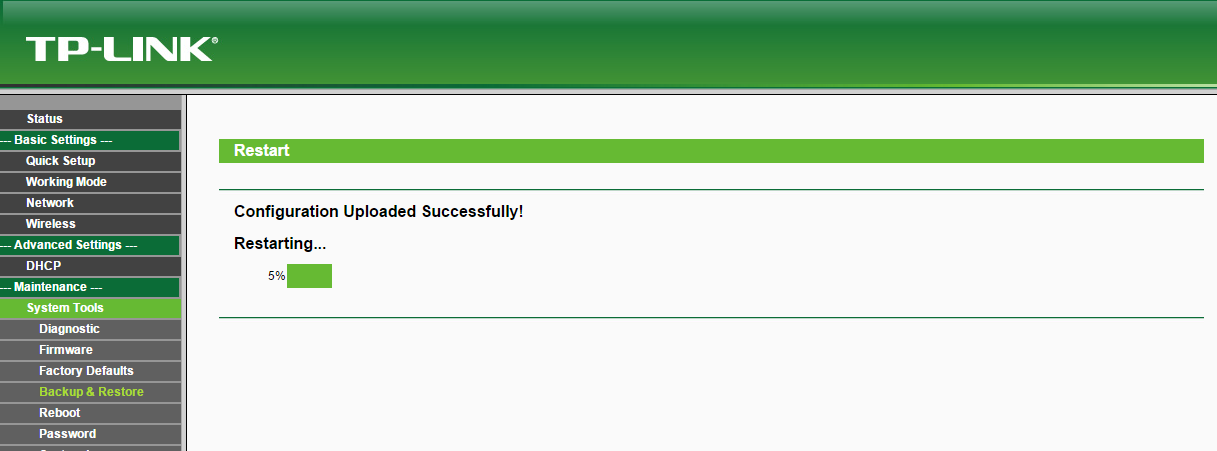
The username is still admin. Use the Router Password Cheat Sheet found in the Downloads section of the Timer Portal to learn the new admin password.
The new WiFi SSID will be Chrono-TPLINK. You can find the WiFi password on the Cheat Sheet as well.
You can now use the router to Connect a Mini to a PC Wirelessly