Introduction
Part of the Extended Registration feature is the ability to export all created codes to a CSV file. We've now added the ability for those codes to be uploaded into CT Live's E-mail blast feature as part of a contact list. The uploaded codes can then be used in the message body of an e-mail by using the [coupon_code] placeholder. Each recipient will see their own name and the code uploaded with their e-mail address in the e-mail they receive. This guide will show you how to import and use codes in an E-mail blast.
Export the Codes and Add Contacts
First, you'll need to export the codes you created as part of Extended Registration. If you haven't made the codes yet, click HERE to learn how.
- On the Registration > Choices tab, click the Manage Extended Registration Codes button for the registration Choice you would like to export codes for.
Coupon codes will only be valid for the registration choice under which they were created.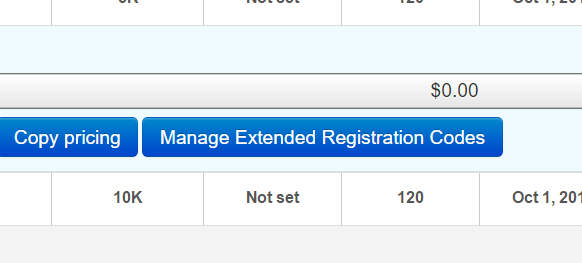
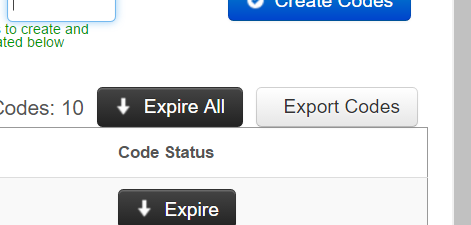
- In the window that appears, click the Export Codes button. A dialogue box will appear asking you to confirm the export. Once you confirm, the codes will be downloaded onto your computer in a CSV file.
- Open the downloaded file on your PC and copy the codes to a new column in the contact list you'd like to use. Once you've got a Name column, an Email column, and a Coupon_Code column, save the file as a CSV.
Import Contacts + Codes
Now, on the E-mail tab, create a new campaign and fill in the appropriate information for the e-mail campaign. If you're not familiar with creating an e-mail campaign, click HERE for a full guide.
To import the list of e-mails, names, and coupon codes:
- Click the Create List button and select Import from the "Select Recipients from" dropdown. Enter a List Title, then click Select File and locate the contact list with the coupon codes you created previously.
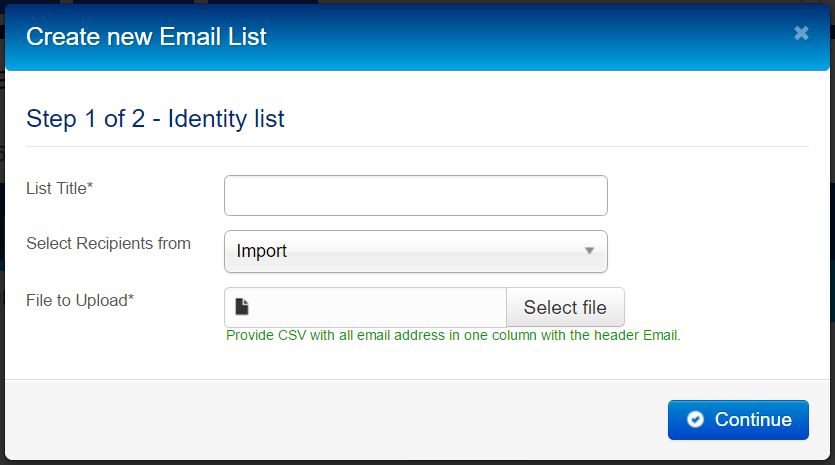
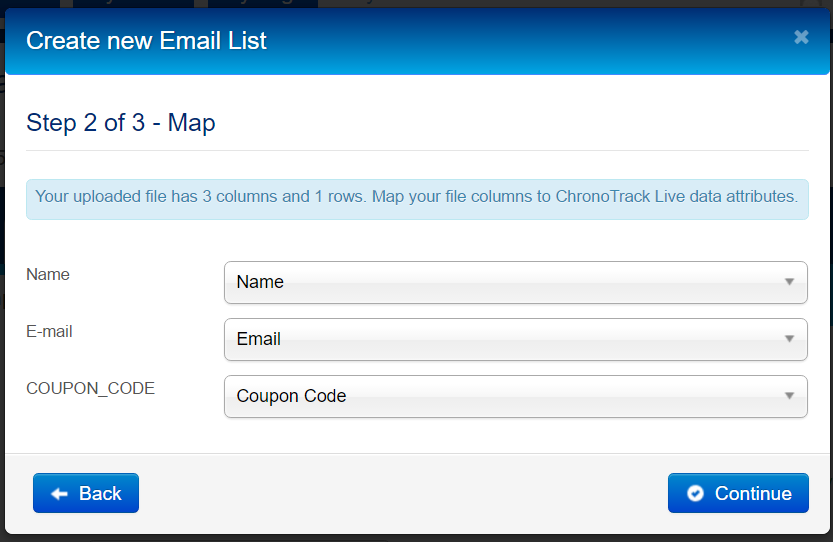
- Click Continue. On the next page, make sure the Name, Email, and Coupon Codes are mapped to the correct values, then click Continue.
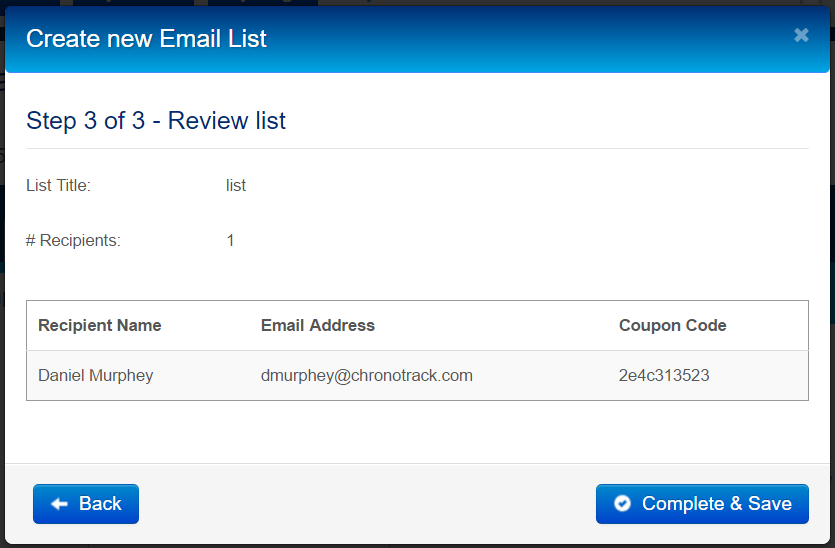
- On the final step, confirm the information in the file, then click Complete & Save.
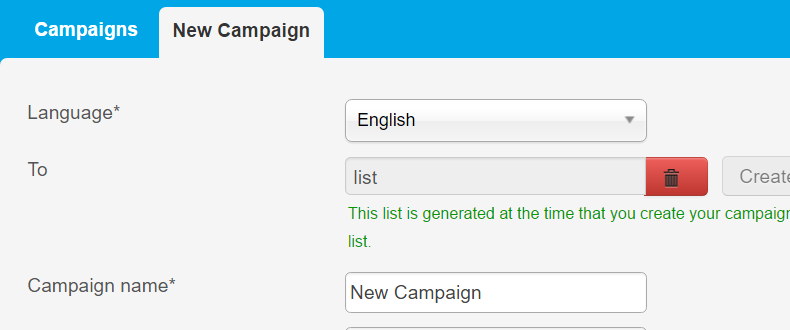
- Allow some time for the file to upload. When the process is complete, the page will refresh, and the list title will appear in the To field.
Composing a Message with Codes
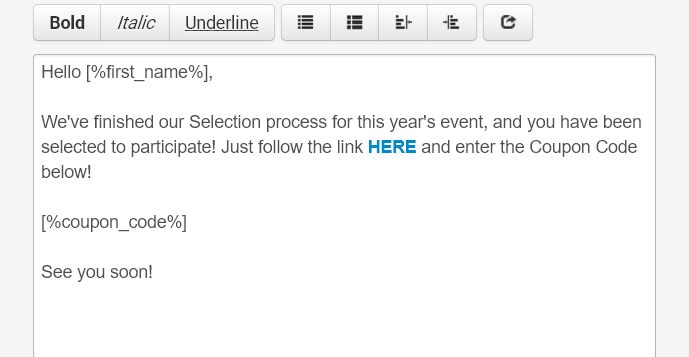
Now, compose your e-mail message and use the [%coupon_code%] placeholder to insert the Coupon Codes into each participant's e-mail. See the example below for an example of how this might look. You can also personalize the e-mail with the [%first_name%] placeholder.
In order for the names and codes to be inserted into the e-mails, the placeholders MUST follow the format shown in the image below - [%first_name%] and [%coupon_code%]
