Introduction
Map Tracking now allows anyone to view participants' general location on a map on Athlinks.com. Since Map Tracking is a feature driven by ChronoTrack Live's scoring engine, you must use CT Live to score your event. Map Tracking does not provide hyper accurate location data, but general information on athletes' locations between Points in your course.
This guide will show you how to upload a map to the Course and how to fully enable Map Tracking for your event.
Prepare Your CT Live and Athlinks Events
- Make sure that your CT Live event is properly linked to Athlinks
- Configure and publish your Event Landing Page
- Add any needed Timing Points to each course in CT Live for which you'll be offering map tracking and ensure that there is a Course Type Interval associated with each Point.
- Make sure each Timing Point has a Course type Interval associated with it that has both "Wants Ranking" and "Publish Results" enabled.
Generate Your Map(s)
In order for Map Tracking to work, you must generate a course map and download it as a KML or GPX file, then upload the file into CT Live. There are several ways to create this type of file, but the easiest is using Google Maps or a fitness route mapper such as Strava or Map My Fitness. We recommend using one of the sites specifically made for creating exercise maps because they will be more-fully featured. Here are a couple:
- Map My Fitness http://www.mapmyfitness.com/routes/create
- Check out the how-to article for manually creating a map HERE.
- Strava - https://www.strava.com/routes/new
- You can view a tutorial about using the Strava's Route Builder within the builder itself
These sites will require you to make a free account before you can use them.
When creating your map, there are some key things to keep in mind:
- Do not combine multiple course distances into one file. Create a separate KML/GPX file for each of your course distances.
- Always begin laying out your course from the starting line location.
- Make sure the full course distance is identical to the course distance in CT Live.
- Avoid using any of the snap-to-road features as this may make the course distance longer or route the course through incorrect areas of the map.
- If your course cuts across a field or a gap between roads where maps don't show a passage, this is especially important.
- You may need to cut corners and hug the sides of the roads to get to the desired distance. For most athletes and spectators, they will not zoom in close enough to notice.
- If you generate a map by driving/biking/running the course using a Garmin or similar device, you may need to save the course in a simplified format to prevent the file from being too large. (Maximum KML/GPX file size allowed is 4MB)
- Make sure you save maps as either KML or GPX format.
Uploading a Map
Once you've prepared a KML/GPX file for each of your course distances, you can upload them to your CT Live event.
- Go to the Scoring > Course tab and click the Race you'll be uploading a map to.

- Now, scroll down to the Course Setup area and click the + Course Map button.

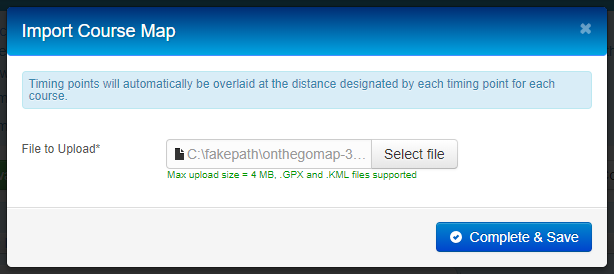
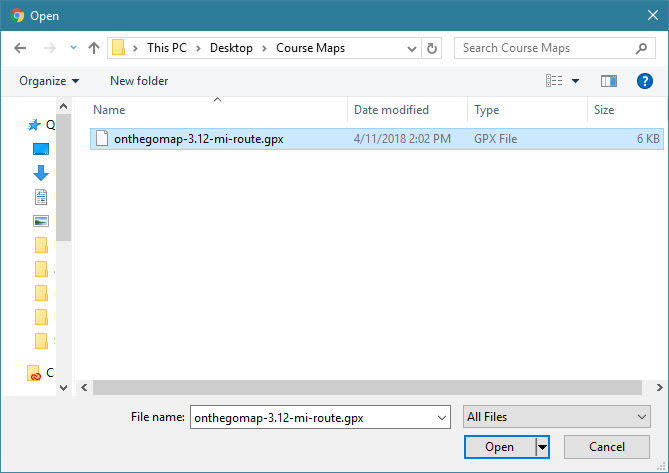
- In the window that appears, click the Select File. Locate the KML/GPX file for the correct course on your computer, then click Open.


- Click Complete & Save. You'll see a progress bar for a few seconds as the file is processed, as shown below.

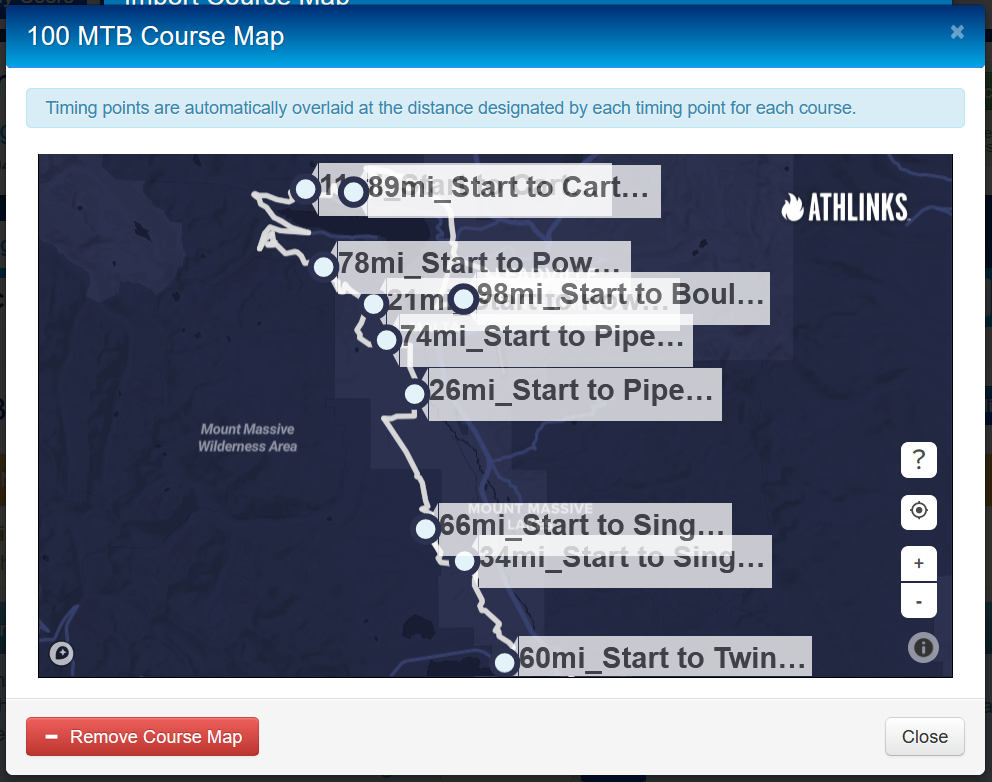
- When the processing completes, you can view a preview of the course map. If you added any split points to your course, you'll see those marked with orange circles at the appropriate distances along the course. The Start point will be marked with a gun icon, and the finish point will be marked with a flag icon.

- To finalize the map upload, click Close.
After a map has been uploaded, you can click the Edit Map button that will have replaced the + Course Map button.

In the window that appears, you can preview your map and select from a variety of buttons:
- Remove Course Map delete a previously-uploaded map which will enable you to upload a new one.
- Reprocess Map - Support staff may use this button during troubleshooting of issues, but it will likely never be used.
- Download Map will download the original .gpx or .kml you previously uploaded.
- Full Preview will open a new tab in your browser that allows you to preview your Course Map in a larger screen area.

Timing Setup
With the new implementation of Map Tracking, you no longer need to set up a line 100m from the start line. However, the more split timing locations you provide along the course, the more accurate athletes' general locations will be.
Viewing the Map
You can also go to the Timing tab for any Athlete in your CT Live event and use the View on Map button to see that person's map if they have reads in the event.


Here's an example of the map view in a computer browser:

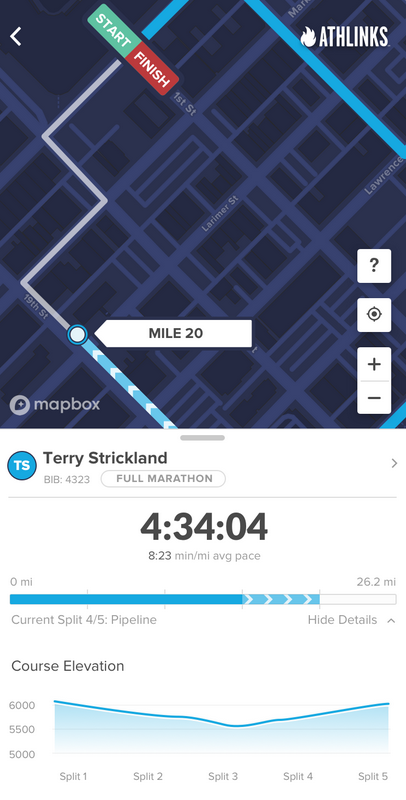
Athlinks App Example:

The portion of the course the athlete is currently on will show an animated set of arrows leading toward the next point on the course. Users can click the ? icon in the lower left corner of the screen to view a legend explaining the visual elements of the map.
