Introduction
Within ChronoPrint are several Tag Templates that allow you to print custom information on each tag. In order to print this information on the tags, you'll need to organize the information in a CSV file and then load it into ChronoPrint. This guide will explain how to do this.
Prepare for Printing and Select the Template
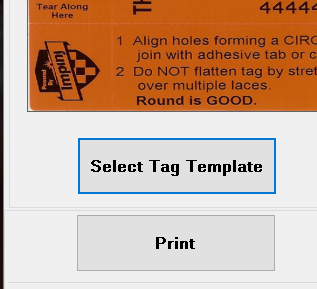
First, make sure the printer and ChronoPrint are configured to print the tag type you'll be printing on. Once these are ready, click the Select Tag Template button and select the template you'd like to use.
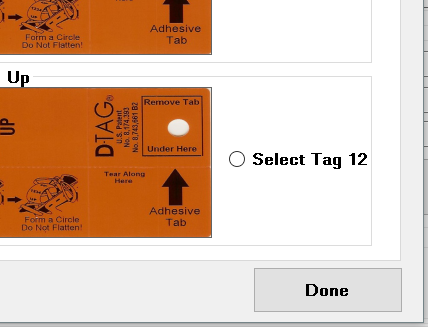
Locate and select the desired Tag Template, then click Done.
Prepare the File
Now, pull the data you'd like to print onto the tag into Excel. This could be from a Confirmed Entries report, your external registration software, or it could just be a file you make from scratch. Once you've got the data pulled up in Excel, you'll need to format it correctly.
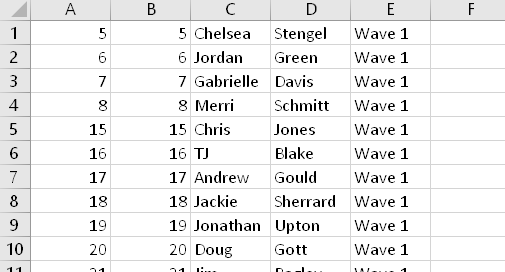
The first column in the file should contain the RFID tag number to be encoded on the chip. The second column should be the number to be printed on the tag itself. These numbers should usually be the same.
Now arrange the rest of the columns in the order you'd like them to appear in the tag. The placeholder text on the template represents the maximum number of characters allowed in that field, so make sure you don't exceed that limit with the info in any field. If you're printing custom information on a Single B-Tag, the template you should use is #20 on Page 7. This template only allows two custom fields, so if you have extra information you need on the tag, consider combining information from multiple columns into a single column.
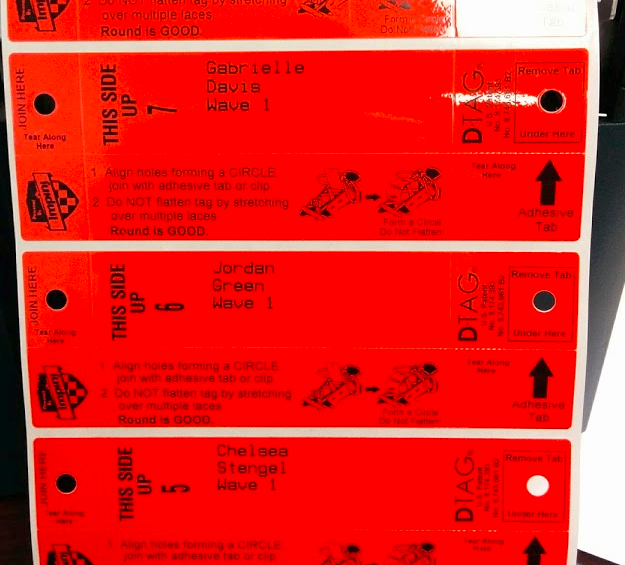
Here's an example of a file set up to show first name, last name, and wave assignment on a D-Tag:
Now, save the file as a CSV and close Excel. If the file is still open in Excel when you try to load it into ChronoPrint, you'll get an error.
Load the Print File
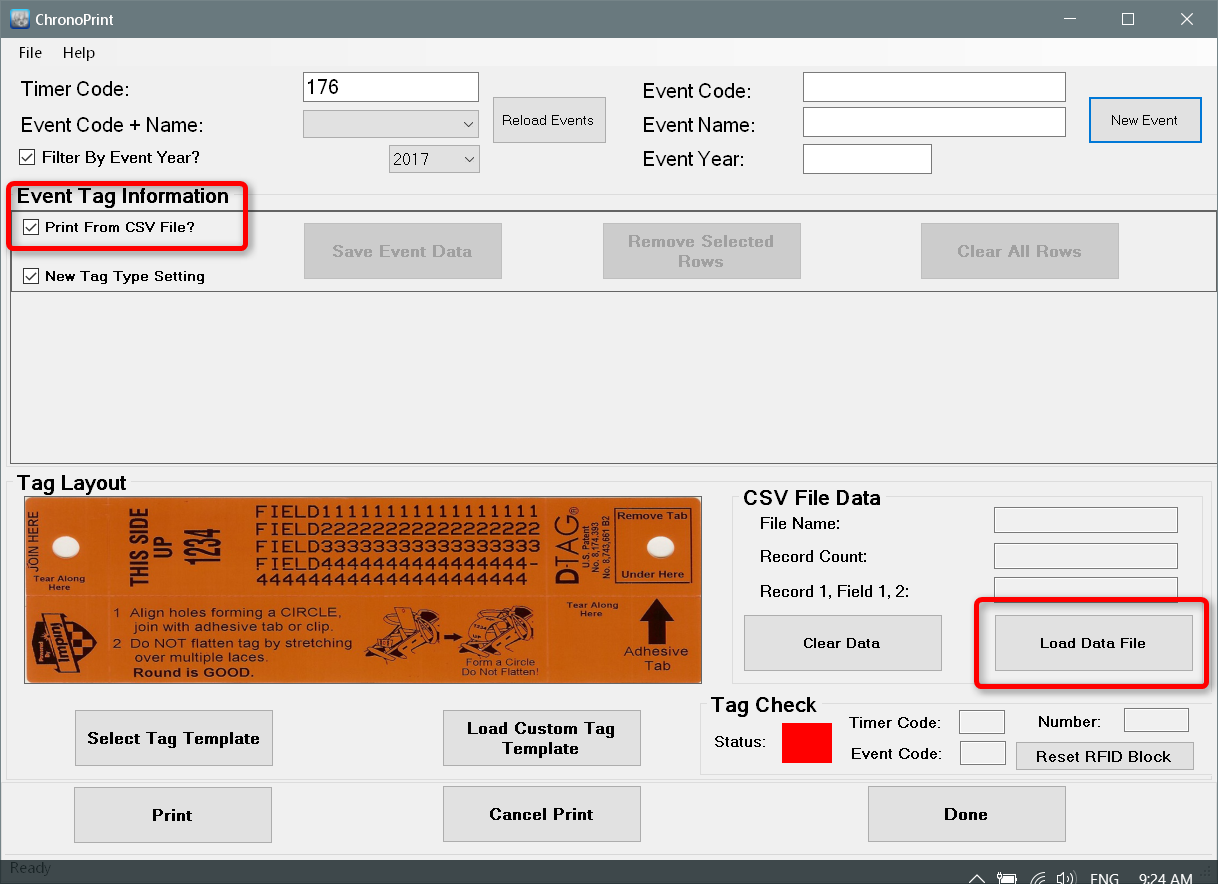
Now, enter the correct Timer Code and Event Code into ChronoPrint as you normally would for a print. Next, check the Print From CSV File box in the Event Tag Information field, then click Load Data File in the CSV File Data field.
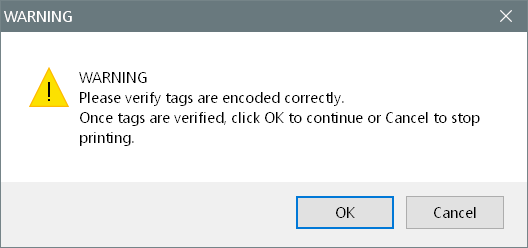
In the window that appears, select the file you created and click Open. If there are no errors, you can go ahead and click Print. After the first tag prints, verify that the information is printing as you would like, then click OK to continue with the rest of the print on the Warning window that appears.
Here's the result of the print job using the example file above: