Connection Options
The RZ600 requires a wired Ethernet connection for network printing. There are two connection methods:
- Connect the printer directly to the PC with an Ethernet cable.
- Connect the printer to a hub/switch which is connected to the same network as the PC. This connection requires a standard Ethernet patch cable connected from the printer to the hub/switch. In this scenario, the PC could either be wired to the network or have a wireless connection. In either case, the PC’s IP address must be in the same range as the printer IP address.
Configure Your PC IP Address
For the purposes of this guide, the IP address range used is 172.20.23.xx. The actual IP address used is up to the user.
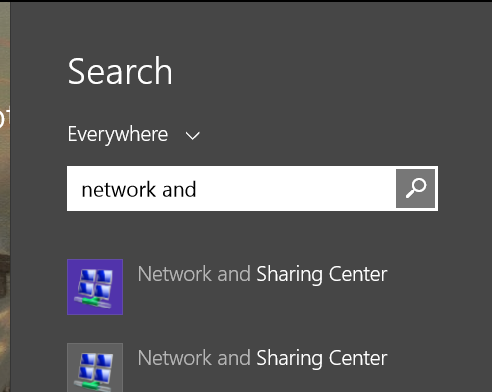
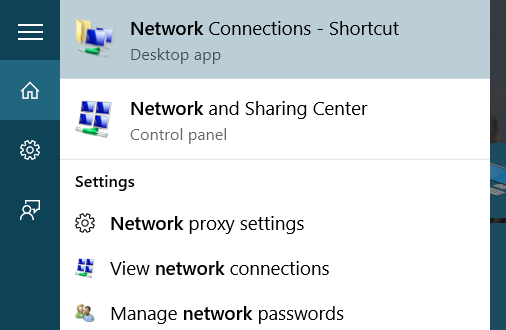
- Open the Start menu and begin typing Network and Sharing Center. A pane should appear on the side of the screen.
- Click the Network and Sharing Center listing.
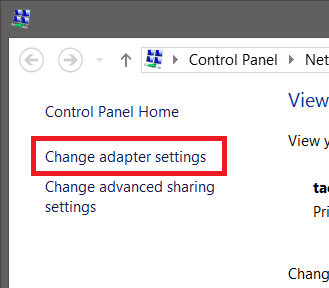
- In the window that opens, select Change adapter settings on the right side of the window.
- Locate the correct Ethernet adapter. Right click on the entry and select Properties.

- In the window that appears, select the Internet Protocol Version 4 (TCP/IPv4) entry and click
- Click the Alternate Configuration tab and click the User Configured radio button.

- The information should be as follows:
IP: 172.20.23.x (x = any number between 2 and 49)
Subnet Mask: 255.255.252.0
You may leave all other fields blank. - Click OK.
Continue to Configure the Printer
- Go to Control Panel > Network and Internet > Network and Sharing Center.
- Click Change Adapter Settings on the left-hand side of the screen.
- View the properties your Local Area Connection adapter by right clicking the adapters icon and selecting Properties.
- Then select the item labeled Internet Protocol Version 4 from the properties menu, and click the Properties button.

- Once inside the Internet Protocol Version 4 Properties screen, click the Alternate Configuration Tab.
- On the Alternate Configuration Tab click the User Configured
- In the IP Address field enter 172.20.23.xx (where xx is a number between 2-49).
It is important that you remember this number as it will be used later while configuring the printer. - In the Subnet Mask field enter 255.255.252.0

- Click OK and close any Windows you have opened during the configuration process.
Continue to Configure the Printer
- Click Start Button > Control Panel.
- From the Control Panel > Network and Internet > Network and Sharing Center.
- Click Manage Network Connections on the left-hand side of the screen.
- View the properties your Local Area Connection adapter by right clicking the adapters icon and selecting Properties.
- Then select the item labeled Internet Protocol Version 4 from the properties menu, and click the Properties button.
- Once inside the Internet Protocol Version 4 Properties screen, click the Alternate Configuration Tab.
- On the Alternate Configuration Tab click the User Configured
- In the IP Address field enter 172.20.23.xx (where xx is a number between 2-49)
It is important that you remember this number as it will be used later while configuring the printer. - In the Subnet Mask field enter 255.255.252.0
- Click OK and close any Windows you have opened during the configuration process.
Continue to Configure the Printer
- Click Start Button > Control Panel > Network Connections.
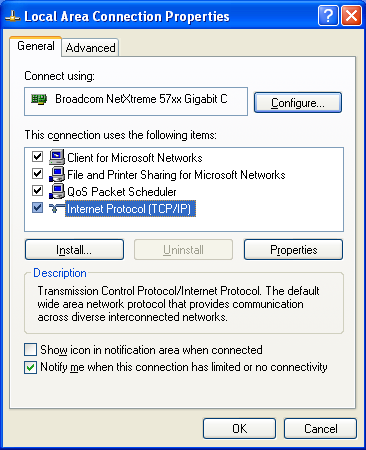
- View the properties your Local Area Connection adapter by right clicking the adapters icon and selecting Properties.
- Then select the item labeled Internet Protocol (TCP/IP) from the properties menu, and click the Properties button.
- Once inside the Internet Protocol (TCP/IP) screen, click the Alternate Configuration Tab.
- On the Alternate Configuration Tab click the User Configured
- In the IP Address field enter 172.20.23.xx (where xx is a number between 2-49).
It is important that you remember this number as it will be used later while configuring the printer. - In the Subnet Mask field enter 255.255.252.0
- Click OK and close any Windows you have opened during the configuration process.
DHCP Server
If you have a home/office wired network with a DHCP server, the printer will acquire an IP address from the DHCP server. Here are the steps:
- Connect the printer to the hub/switch.
- Power off the printer, wait 10 seconds, then power the printer back on and wait for printer to display PRINTER READY.
- From the printer control panel, click SETUP/EXIT.
- Press the - (minus) key about 16 times until you see IP ADDRESS. The IP address for the printer should be shown in the lower portion of the screen. Verify the IP address is in the correct range.
- Press SETUP/EXIT two times to save/exit.
Static IP Address
A static IP address is needed if connecting directly from the printer to the PC or if using a hub/switch and no DHCP server is available.
- Connect an Ethernet cable from the printer to the PC (make sure you use the Ethernet connection, not the USB connection) or connect an Ethernet patch cable from the printer to the hub/switch.
- From the printer control panel, click SETUP/EXIT.
- Press the – (minus) key about 17 times until you see IP PROTOCOL.
- Press the SELECT key. A prompt may appear for a password. The default password is 1234. Use the + key to change the value and the – key to change the position. Once 1234 is entered, press the SELECT button.
- Press – key until PERMANENT is displayed, then press SELECT again.
- Press + key until IP ADDRESS is displayed then press SELECT.
- Enter the IP address: the + key increments the value and the – key moves the cursor. Make sure any 1 or 2 digit values have a leading 0. For example, if the printer IP address needs to be 172.20.23.10, it would be entered as 172.020.023.010. Press the SELECT button once the address has been entered.
- Press + key, SUBNET MASK should be displayed.
- Press the SELECT button and follow the same procedure used for entering the IP address to enter the subnet mask.
- Press SELECT button once the subnet mask has been entered.
- If a default gateway IP address is needed, press + key (DEFAULT GATEWAY is displayed), then press the SELECT key and enter the IP address as previously described.
- Press the SETUP/EXIT button two times > SAVE CHANGES PERMANENT > SAVING PERMANENT.
- Power off the printer, then power the printer back on.
- Once PRINTER READY is displayed, the IP address should be correct.
Configure ChronoPrint
It's a good idea to do a Manual Calibration before configuring ChronoPrint and attempting to print.
Both printer and PC should now be capable of communicating to one another. Last step is to enable network printing in ChronoPrint.
- Open the ChronoPrint program and click File > Settings. The following form should be displayed (settings may be different):
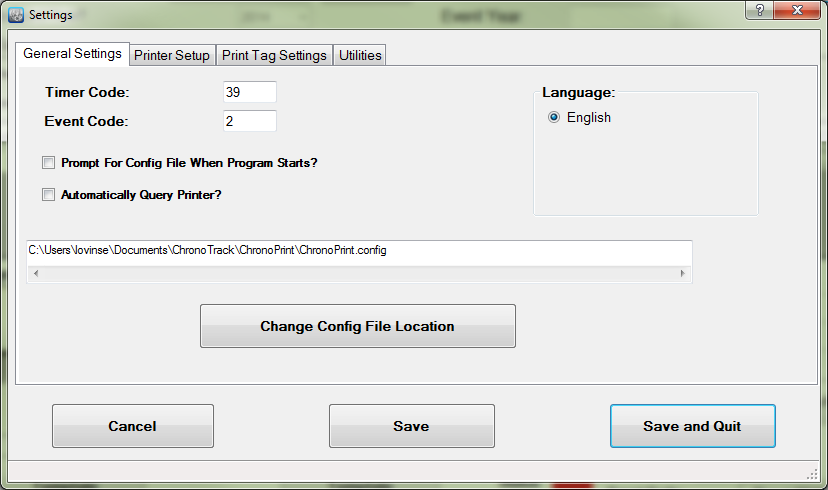
Make sure to uncheck "Automatically Query Printer?" - Click Printer Setup tab and add an IP address to match the printer IP address.
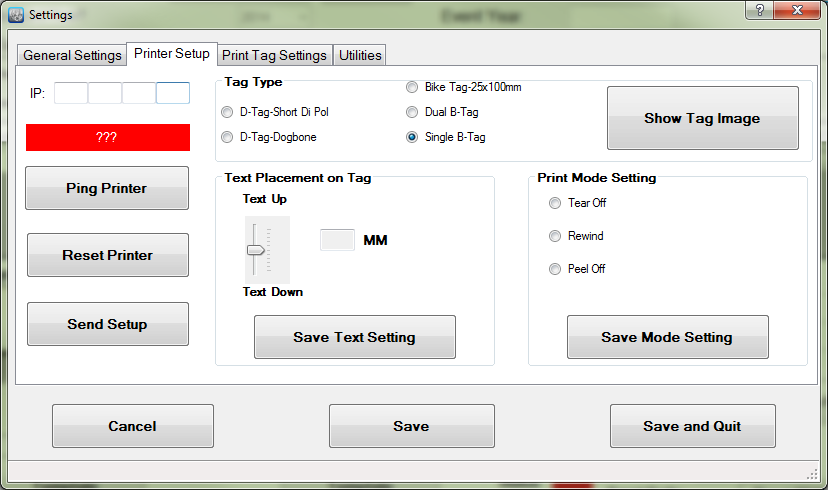
- Once the IP address of the printer has been entered, press the Ping Printer button. If the connections and IP settings have been made correctly, the Printer Status box should turn green as depicted below:
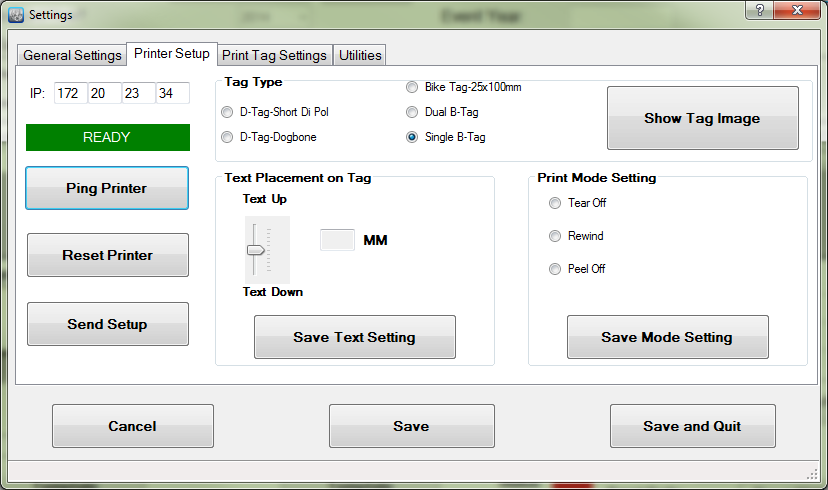
- If status is READY, communication between the printer and the PC is working. If the status is red, check connections and IP address settings. Remember, the IP address for the PC will need to be different than the IP address of the printer.
- Now, select the Tag Type you wish to print, then click Send Setup. Several tags will feed from the printer, and a message will appear after a few seconds confirming that the settings were sent to the printer successfully.
- Now, click the Save and Quit button.
Please contact ChronoTrack for help in diagnosing network connectivity problems.
To start printing after following steps 1-7 in the section above, follow this process:
Make sure the "New Tag Type Setting" box is NOT checked when printing any tags purchased after July of 2022.
- Enter an Event Code for the print job. The event code is programmed onto the tag and helps differentiate tags from one event to those from another event.
- Enter and Event Name. This isn't programmed to the tag, but is saved in ChronoPrint so that print jobs can be recalled.
- Enter an Event Year.
- Check the Select? box to select the first line in the Event Tag Information section.
- Enter the First Tag Number to be printer.
- Enter the Last Tag Number to be printed. Every number between the First and Last numbers entered will be printed as part of this print job.
- Click Print. After several seconds, the first tag will print, and ChronoPrint will display a message asking you to verify that the tag printed correctly. If the tag did print correctly, click OK on the message. If it didn't, click Cancel on the message.
- After you click OK, the rest of the tags in the range you entered will be printed.