Introduction
The Email sub-tab allows you to customize the confirmation Email that is automatically sent to athletes when they register through CT Live. You can set a custom message for all races, or on a per-race basis. You can also set a Reply To email address, and enable and edit a Referral Link for athletes to use to share the event with their friends and family. Lastly, you can choose to show an athlete’s answer to any Custom Questions they answered on the registration form.
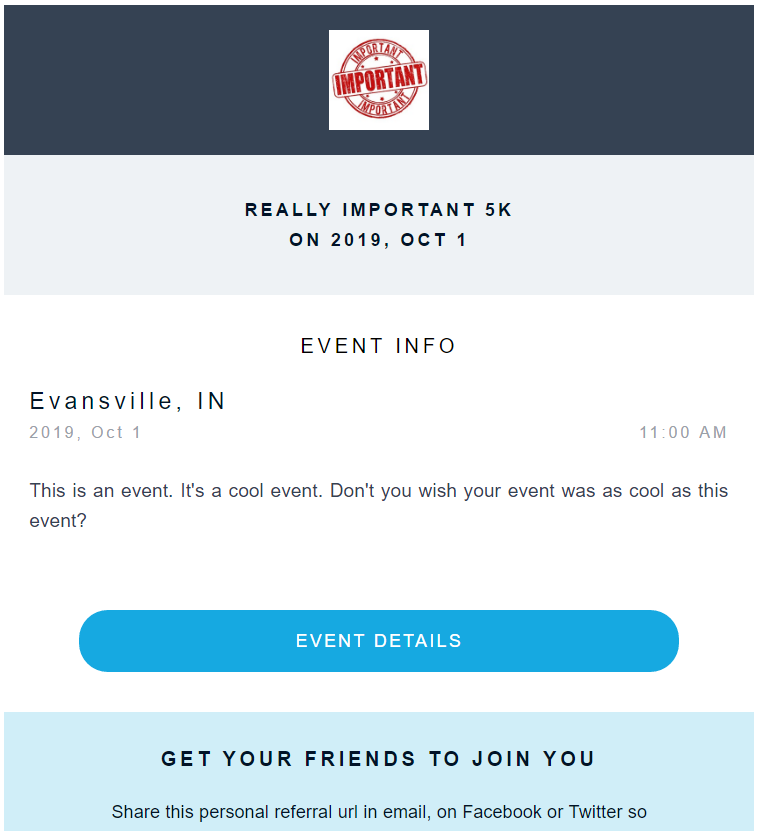
The basic Confirmation Email looks like this -


Configuring the E-mail
- First, you can specify a custom message to include with the Confirmation E-mail. This will not replace the e-mail's defaults text, but will simply be included with the original. There are a variety of text and data options available for formatting your text, including tables and images. For an explanation of how images work in the editor, click HERE. If you add a custom message, you can use the [%first_name%] placeholder to add each entry's full name to the message body.
- Next, you can turn on Packet Pickup Barcodes. Toggling these on will include each entrant's Chrono ID in barcode form in their Confirmation E-mail. This barcode can be used to speed up PPU considerably. If you have a barcode scanner that's capable, the barcodes could be scanned from a phone screen.
- Now you can set a Reply To e-mail address where e-mails should be sent if athletes respond to the Confirmation E-mail.
- Next, you can enable and configure the Referral Link. This feature is toggled on by default and will include a shareable link in the e-mail that will direct users to your registration form so that registrants can get their friends and family to easily sign up. If you'd like to change the default Header and Description, simply enter the text you'd like to include.

- Finally, click the checkbox next to each Custom Question answer which you would like to display within the e-mail. It's usually a good idea to include Product type questions to avoid confusion about extra charges.
- When you're done, click Save at the bottom of the page.