Introduction
Athlete Update posts to Facebook are no longer available due to Facebook's new policies on automatic update posting.
Athlete Updates are a great way to 'Wow' athletes and event organizers when SMS messages arrive on athletes' devices moments after crossing an update-enabled line. They're very simple to set up and easy for the athlete to use. Remember that you must be live-streaming data to the Event for offering updates to make sense. This process consists of 5 steps:
- Configure the Event
- Configure Races
- Configure Intervals
- Configure Update Language and Preview Updates
- Distribute the Link/Embed the Widget
If you do not have Timer access to your CT Live event, you may not be able to complete all steps of this process. If you are an Event Director, coordinate with your timer to enable Athlete Updates.
- First, make sure that Athlete Updates are selected as a CT Live Service in Event Properties > Other
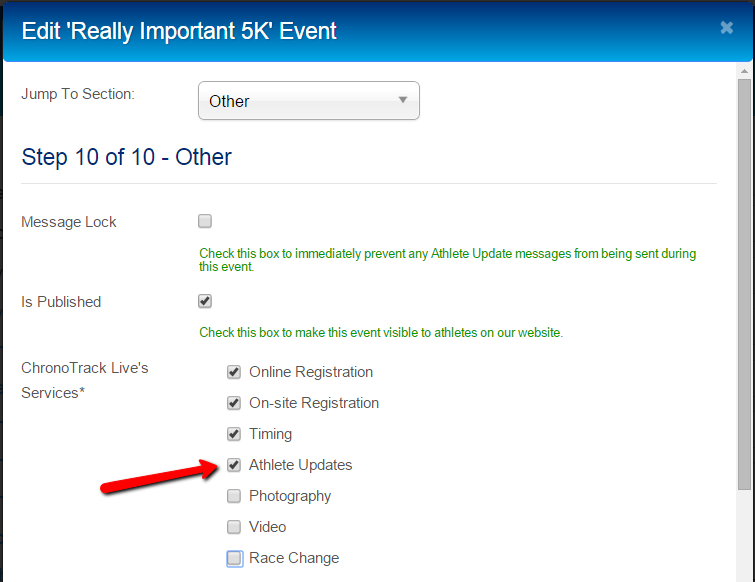
- If the option was not checked, check the box, then click Save & Close.
Next, ensure that you have configured Athlete Updates on the Race level. You may not want to offer athlete update sign-up for all races (e.g. untimed fun-runs), so you can enable or disable Athlete Update Sign Up for each Race. If you selected Athlete Updates as a CT Live service when you created the event, Races should automatically have updates enabled when they are created.
- To turn Athlete Updates on or off for a specific race, click the Race you would like to alter on the Event tab, and scroll to the bottom.
- Check or uncheck the Enable Athlete Update Sign Up box
- Click Save & Close to finalize the change.
If you selected Athlete Updates in Event Properties, Athlete Updates will be checked by default.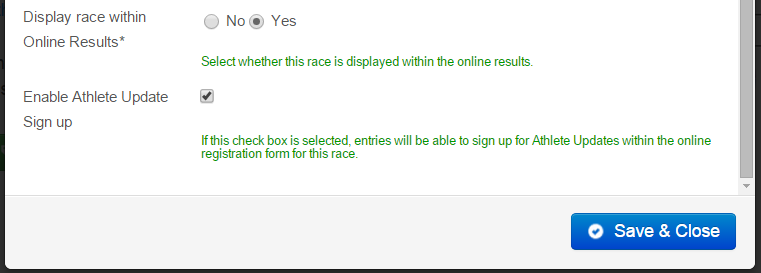
Intervals are what trigger Athlete updates, so it is important to create intervals for each pair of Timing Points on your Course. You may not want to trigger Athlete Updates for every interval, so you can enable or disable Updates for each individual Interval.
Remember that Athlete Updates are enabled by default on all Intervals if you selected Athlete Updates as a CT Live service during event creation, so if you don't want to disable updates for any interval, you should be able to skip this step.
- To turn Athlete Updates on for an interval, navigate to the Scoring > Course tab.
- Click the Interval for which you would like to enable/disable updates.

- Locate the Use for Athlete Updates field, and check the box. In order for an Interval to trigger Athlete Updates, Wants Ranking and Publish Results must also be checked.

Step 4: Configure Update Language and View Previews
Navigate to the Scoring > Results Options tab and select the Athlete Updates tab. From here you can select the language for all updates that will be sent out, or choose to allow the athletes to choose the language when they sign up for the updates. Currently there are five available languages: English, Spanish, French, Dutch, and Portuguese.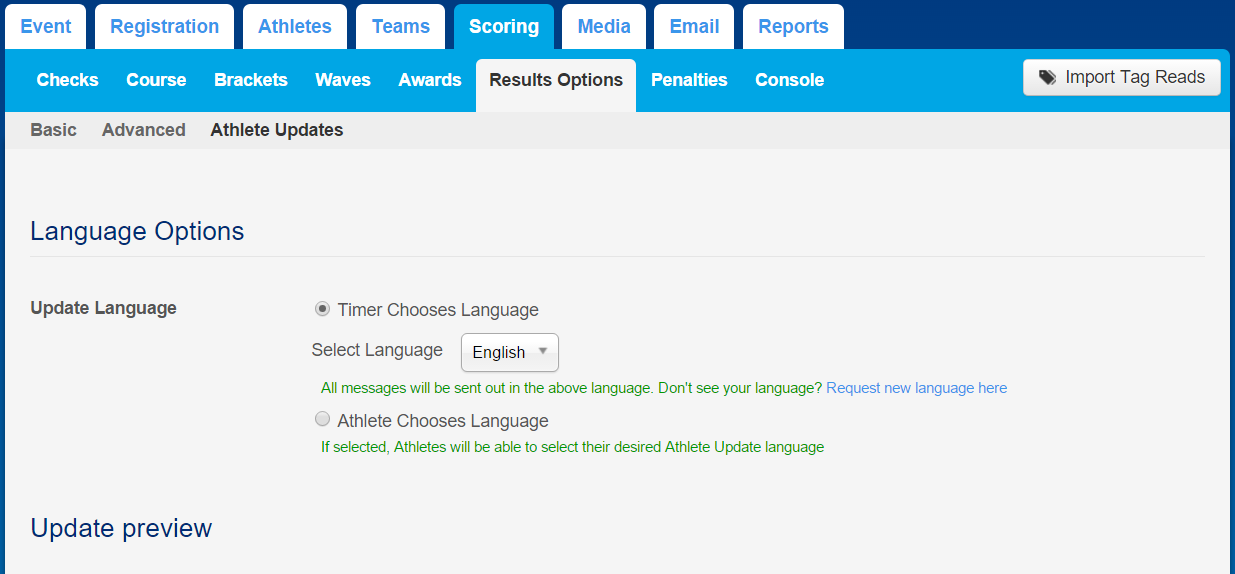
Once you've selected the language option, you can scroll down to view a preview of each type of update in any of the languages, using the real-world Race and Interval names that will be used for your event.
For a brief video demonstrating the Language and Preview functionality, click HERE.
When finished making changes, remember to click Save. You will need to Release a Registration Form for the newly defined settings to go into effect for athlete registrations.
Make sure to also update the Graphics with your event logo to brand the updates for your event!
Step 5: Distribute the Link/Embed the Widget
Now that athlete updates are set up, Athletes will be able to sign up for updates at the end of the registration process. If you aren't using CT Live for registration or want to provide additional opportunities for Athletes to sign up for updates, you can provide a link to the update sign-up form or embed it in your website.
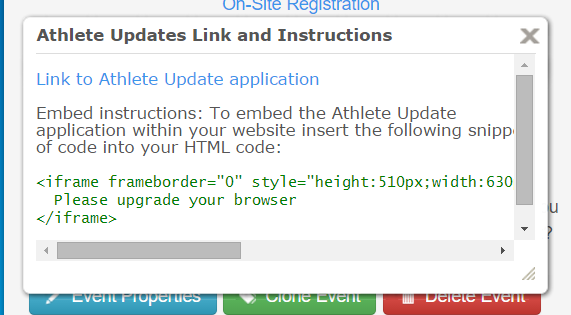
To use either of these options, go to the Event tab of your CT Live event and click the Athlete Updates link.
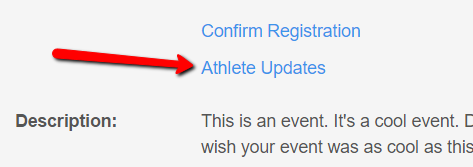
A small window will appear that contains a direct link to the signup form hosted on CT Live as well as an iframe code snippet that you can use to embed the widget directly into your website.
