When we released the newest version of the message editor, we added several features such as Tables and Images that you can now insert into any place where the message editor is used. These places include Registration Confirmation e-mail customization, the Standard Product question, Waivers, Lottery Emails, and Donations.
The ability to add an Image to any of the custom messages associated with these features may require some explanation since since images must be inserted via a URL (web address). This means that images you would like to use must be "hosted" online using some website or service that allows images to be freely access by any person or program without any need to log in or provide authentication.
We recommend imgur.com as the best site for hosting images. It offers simple, free upload and photo hosting and has been tested to work well in email campaigns. Dropbox and Google Drive have been hit or miss with usability.
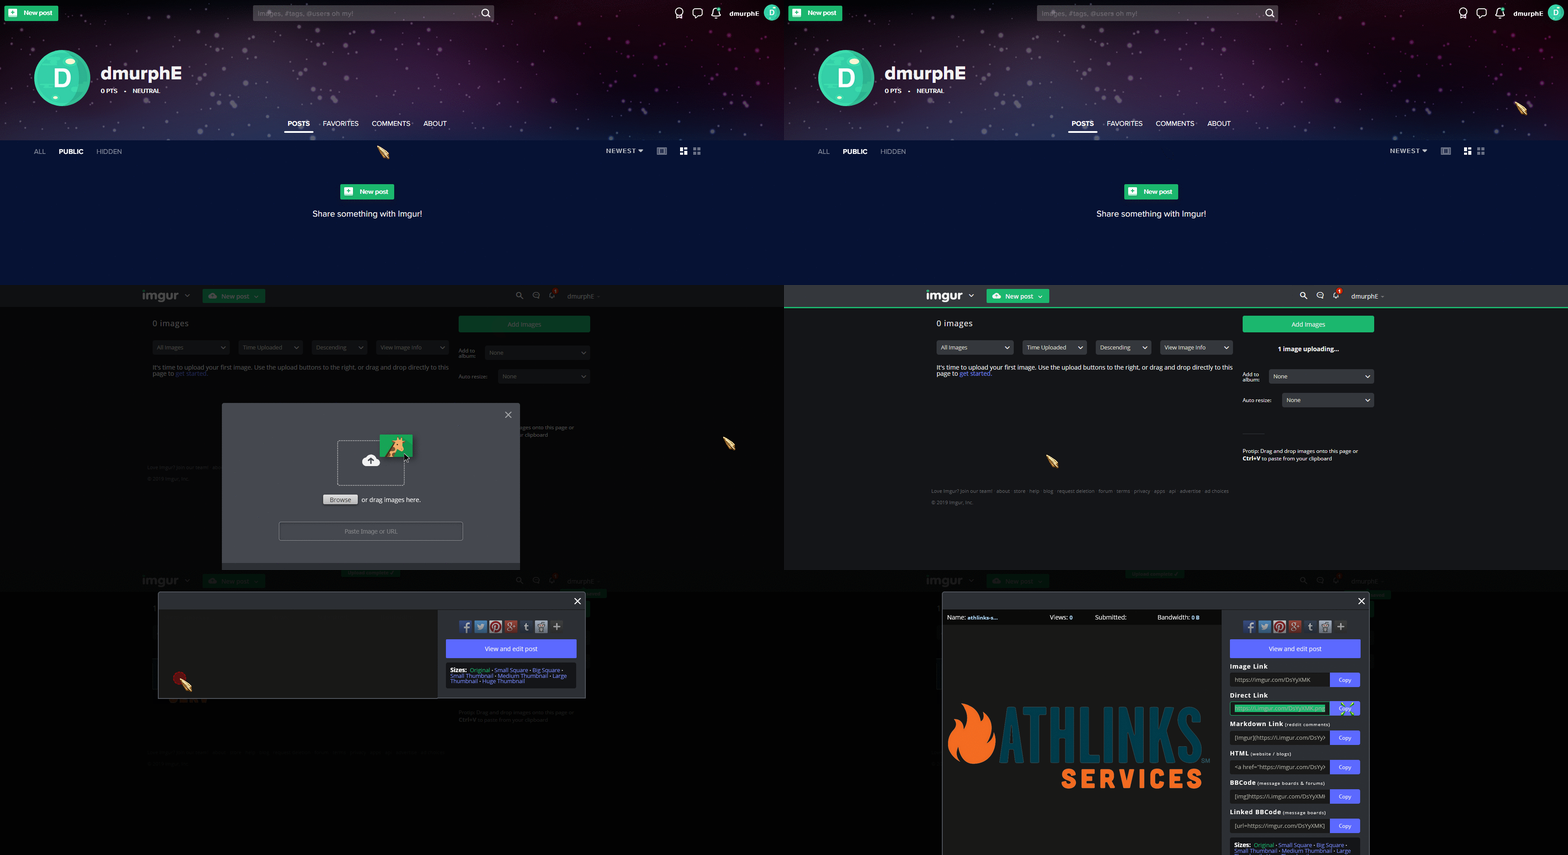
This GIF shows how to quickly host and copy a link for an image on Imgur:

Once you've hosted your image online, you can use the Photo button on the editor to insert the image into your custom message.

In the window that appears, paste the URL of the photo into the URL field. Next, enter some Alternative Text that will be displayed if the image can't be displayed for some reason. This would usually be due to the photo being removed from its original location.
The Preview will usually display a squashed image as shown below, but once you're done configuring the image and click OK at the bottom of the window, the image should appear normally in the message body.

The maximum image size you should use for an image is 500px by 500px due to size constraints in the Online Registration form and e-mail templates used by CT Live. If you have an image that isn't exactly square, set its Width to 500px, and the height will automatically adjust to maintain the aspect ratio of the image.
The lock icon next to the Width and Height fields MUST be set as shown in the image above in order for the aspect ratio of images to be preserved.
Next, you can apply a black border to the image by entering a numerical value. 1 = 1 pixel.
The HSpace (horizontal space) and VSpace (vertical space) fields allow you to offset the image from its default alignment by the number of pixels you enter in these fields. The image will always display aligned to the left side of the message, but you can choose to align the image Right using the Alignment field.
When you're done making adjustments to the image, click OK.
The image should now appear in the body of your custom message.

If you want to edit an image, simply click on the image to highlight it, and then click the Image button again.
