Introduction
In some rare cases, you may find it necessary to make a large number of adjustments to Athletes' times or supply missing reads. For smaller numbers of adjustments, it is best to Add a Manual Tag Read for missing times from the Athlete's page. For larger numbers of adjustments, this can be very time-consuming. The below process will show you how to more quickly create manual tag reads in a .txt file and import them into ChronoTrack Live.
Creating the Tag Reads
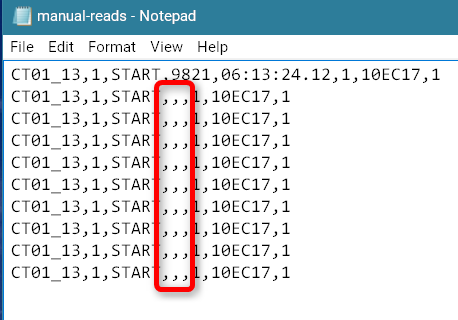
- To make this process easier, download the manual-reads.txt file from the Downloads section at the end of this article. It contains 10 lines like so:

- Notice that the Tag number and time stamp are missing. All you need to do is fill in the Tag number and then enter the Time of Day of the read for that Tag number in 24-hour format (1:31:21.23 PM = 13:31:21.23).
The final result should look like the first line above.
The time format MUST follow the hh:mm:ss.00 format shown above, and you must use the TAG number associated with the read, not the bib number (if they are different). - Repeat this process for each read you need to create. Copy and paste more of the 'blank' lines as necessary.
- For this method of creating reads, the Point Name (START, in the image above) is arbitrary and does not need to be changed to match the Timing Device in your Event.
If you have to upload reads to multiple different Timing Devices, do so in different files. - Make sure that you save the file as a .txt file. Do not insert any additional characters or spaces.
Import the Reads
- Navigate to your Event in CT Live and click the Scoring tab.
- Click the Import Tag Reads button located on the right side of the screen.

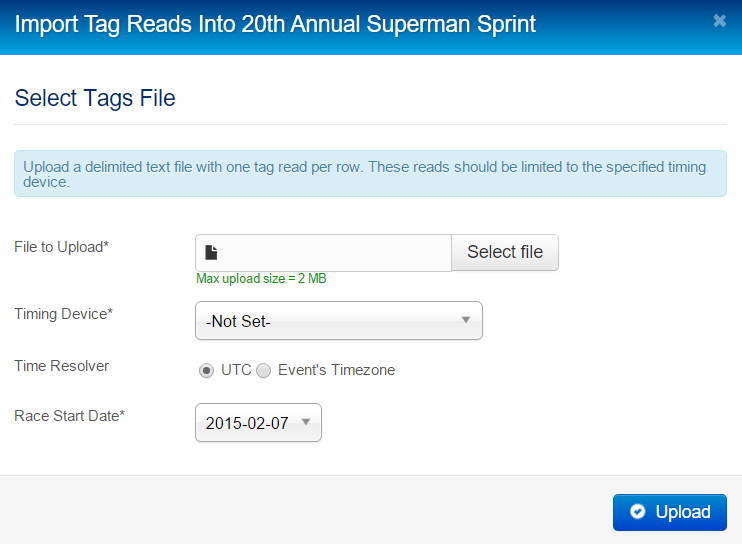
- In the window that appears, select the .txt file containing the reads.

- Select the Timing Device the reads should be associated with.
- The Time Resolver is usually best left on UTC. Select Event's Timezone only if you know what you're doing.
- You can specify the Race Start Date in case your Event contains events with races on multiple days.
- Click Upload when you are done configuring the settings.
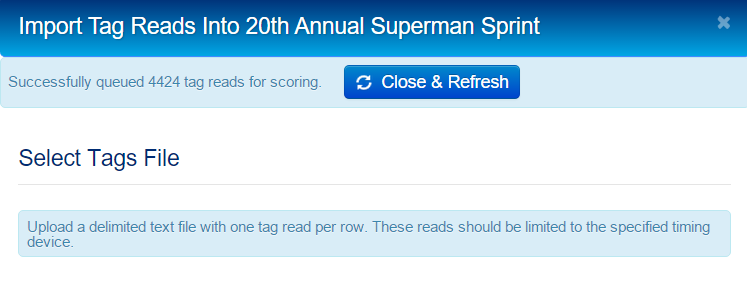
- You should see a message like this appear at the top of the window:

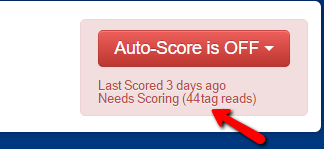
- Click Close & Refresh to finalize the upload. You should see the number of tags that were uploaded appear as unprocessed tags until scoring goes through.
